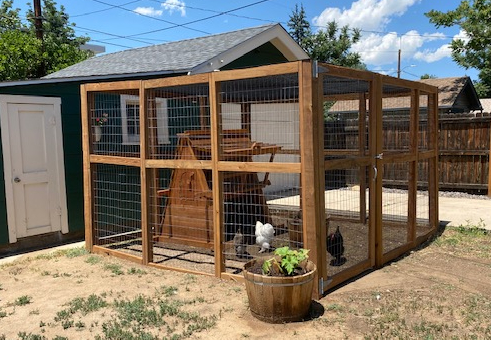
After weeks of work, it’s time to reveal my biggest DIY project to date: the chicken pen!
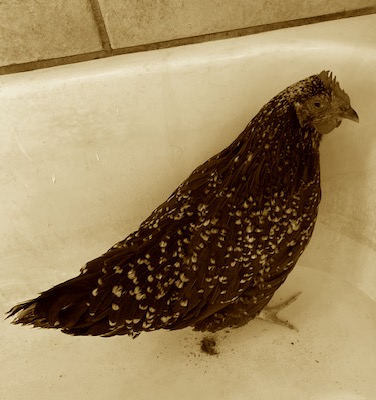
But first, a moment of silence for Patsy Cline, who lost her battle with wry neck after being bullied to malnourishment by Tammy Two (aka The Worst Chicken):
Cue Sarah McLachlan singing “I Will Remember You.”
I’ve now lost three of the five birds I got as chicks and I feel like a horrible mother. As Mr. Fickbonne keeps telling me, “If you’re going to have livestock, you’re going to have dead stock.” Which is a lesson I apparently really needed to learn as I took on the duties of primary chicken caretaker. I’ve learned a lot about infections and nutrition as a result, and am more determined than ever to get another round of chicks some day and raise them all into laying hens without incident.
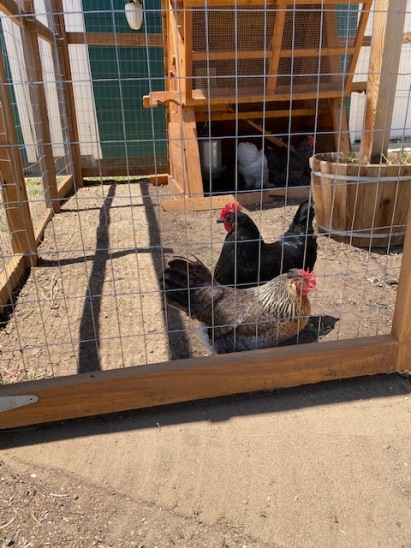
So now our flock consists of Dolly Parton the white maran, Emmylou Harris the cream legbar, June Carter Cash the barred rock, and Tammy Two the devil.
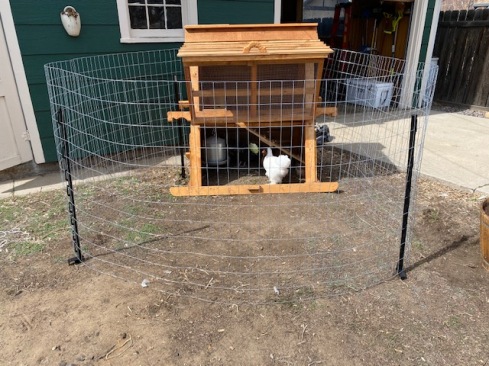
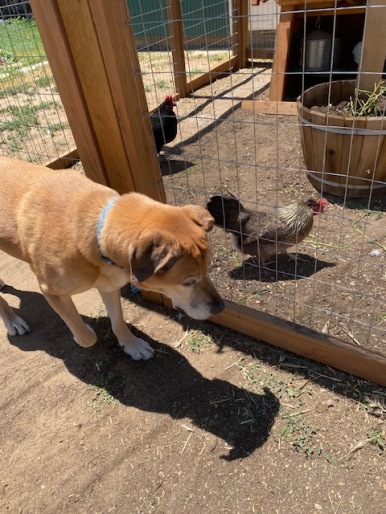
We had successfully integrated the flock before losing Patsy, and they were all enjoying the coop I built from a kit from Texas Ranch Coops. But they needed a more permanent pen, one that would keep predators out and chickens in while providing shade and generally containing their nefarious garden destruction. Here’s the temporary pen, for reference:
Laying hens need a lot more space to roam than pullets, and these garden-destroyers can’t exactly be allowed to free-range all day. So I set about designing my ideal pen.
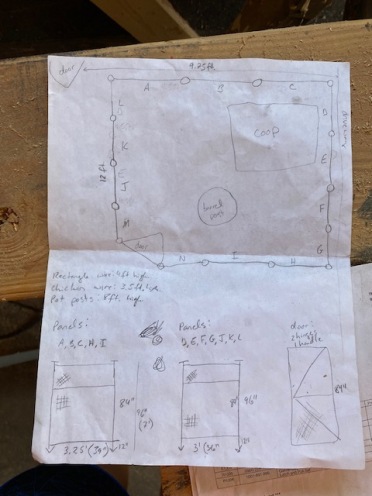
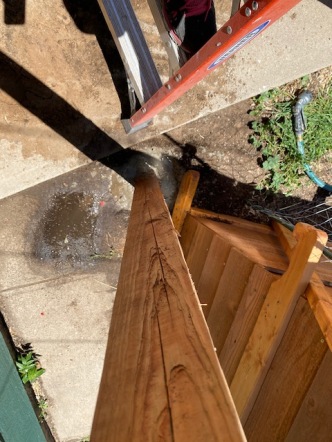
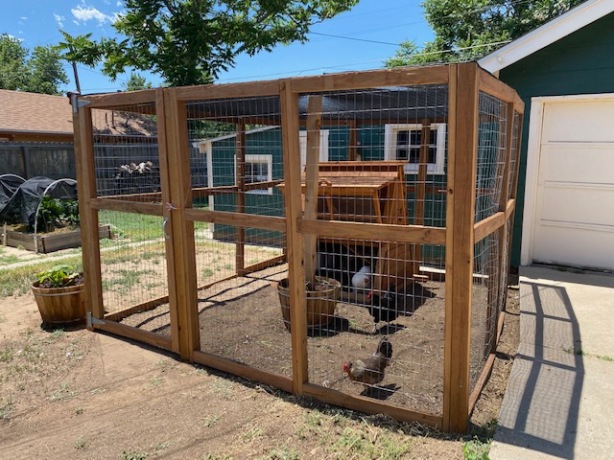
The plans are very much you-can-only-understand-if-you’re-in-my-brain, so allow me to decipher. I was shooting for a 9’x12′ rectangle in the corner of the yard between the garage and driveway. It would be 7′ tall so that Mr. Fickbonne can walk inside it, and would have a gate-style door with a handle and latch. The idea was to use the wire grating we used from the temporary pen (which they sell in like 70-foot rolls) to screen in the whole thing.
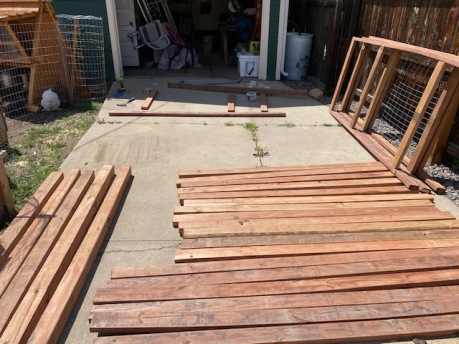
I know myself, and so I knew that sinking the corner posts into concrete before the walls of the pen were aligned and attached was… not a reality. I had visions of perfectly aligned posts with gaps of the utterly wrong size between. So instead, I built the walls for the pen as frames that could then be assembled one by one, allowing the posts to be placed only after a full wall was built.
This construction plan probably is not the most efficient and square way to build fencing, but a) it did make things much easier for one person to assemble, which was necessary considering the hours Mr. Fickbonne has been working, and b) it heckin’ worked so get off my back, more experienced carpenters!
Definitely the least fun part was pouring the concrete for the posts. Each one needed to be seated on a bed of gravel, made level, clamped in place, and then have everything NOT MOVE while I mixed and poured the concrete. Which… mostly worked. But considering I was working in the 95-degree heat truly earning my sportsbra tan, I’m fresh out of fucks to give about it.
Each of the frames was also set in concrete, but only after the corner posts had been perfectly positioned and concreted in place. The result is that this pen is sturdy as the gd Rock of Gibraltar!
Now, I’d be remiss if I didn’t bring up a certain global pandemic in this post. For one thing, being temporarily self-employed meant that I actually had the time to design and build this thing from scratch. For another, it meant that making multiple trips to the hardware store (a traditional requirement for any DIY project) was a big no-no. So I tried to do the responsible thing and order my lumber and building supplies from Home Depot online for pickup.
Thus began the winter of my discontent.
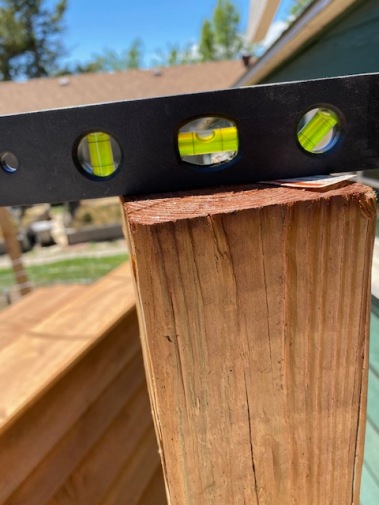
Because I ordered the lumber, I didn’t get to select it myself. Which meant that whoever DID select my lumber didn’t give two shits about the quality of the individual boards. They were all warped and crooked, almost every single one. I spent several days just weighing them down on the driveway to attempt to straighten them. But in the end I had to work with what I had. So keeping everything even close to plumb was a challenge. And as you’ll see from the final pictures… my success varied. Don’t look too closely at the final product, lest ye judge my far from level lines and decidedly un-square joints.
The final 4×4 was so bowed that I opted not to even use it. I went to four different lumber yards to find a replacement when shelter-in-place orders loosened a bit. Yet it seems everyone else and their dog was building the Covid-19 DIY project! I could not get an 8′ tall outdoor-worthy 4×4 in Denver County for love or money. The project stalled for days until Mr. Fickbonne mentioned it to our buddy Fireman Craig, who just happened to have a cedar 4×4 in his workshop. I’ll be installing a bronze plaque memorializing Craig’s contribution at a later date.
Stapling the metal grating into the frames was a pain. I’d almost rather not speak of it. I needed Mr. Fickbonne’s giant gorilla hands to even cut the wire and it took longer than I’m comfortable admitting to get the hang of the construction stapler. Many bent staples were lost in the construction of this chicken pen.
One benefit of the sturdy wiring is that I could bury some of it below the walls of the pen. This way it’s harder for predators to burrow under the pen walls to get inside. It hangs down about two inches from the gate as well, scraping the ground but not impeding the movement of the gate.
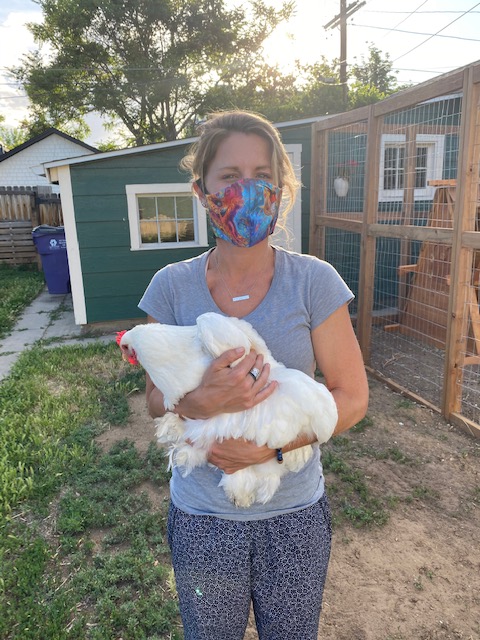
Our friend Laura snuggles Dolly Parton to distract her from construction distress.
Once the walls were up, I knew we needed a roof. For one thing, there’s a big old hawk that lives in the neighborhood. And besides the back half of a dead rabbit it dropped in our yard once (some sick Hawk Mafia message of warning, I’m sure), it has routinely buzzed the coop and watched our girls from the neighbor’s tree like a… well, like a hawk. Whenever they see it the chickens scurry back into the coop. So I obviously wanted some kind of shelter from Death From Above.
Using the same roll of shade fabric we used to cover the garden beds, Mr. Fickbonne cut a big rectangular swatch and stapled it to the top of the walls. (Note that Mr. Fickbonne’s contributions to this project were related to a) his hand strength, and b) his height. Please forgive me for objectifying my husband’s body in this crass way.)
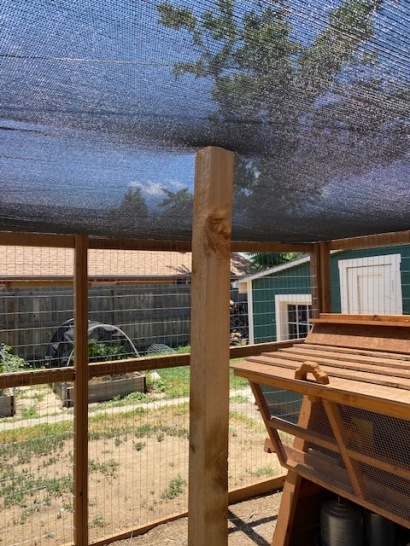
I then reused a piece from an aborted garden project: a 4×4 in a garden planter that was supposed to hold up a sun sail but didn’t really work. I rolled it into the center of the pen to prevent the shade fabric roof from sagging. The hope is the incline created by this central “tent pole” will prevent snow from gathering in the middle and pulling the roof down.
We’ll likely need to replace the shade fabric roof every few years, but considering it was the cheapest part of the project and we have plenty fabric left, I’m not too upset.
Lastly, I built a door! I didn’t plan the door measurements in my original plans for the same reason I didn’t place the posts first: I wanted to allow room for mistakes and wonky measurements. I was expecting the door to be super hard, but it was actually fairly easy to construct and hang. Mr. Fickbonne helped with the hanging because again—tall.


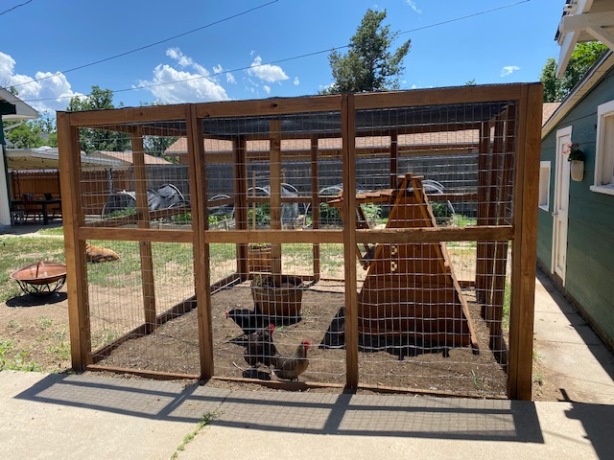
And voila! Our chicken pen is complete!
Special shout-out to my dad for this one. Last time he was in town he loaded me up with 99,000 different kinds of clamps with a knowing look that said “You will definitely be glad you have these some day.” And friends? I used every single one of those clamps in the construction of this chicken pen. I literally could not have built it without the clamps. They’re now my absolute favorite tool.
Another shout-out to this pen’s namesake: the Louisa d’Arbonne Memorial Chicken Pen! My Nonna has been telling me how she grew up with chickens in Italy, one of whom apparently thought she was too good for the coop and preferred to roost on the bed post. So this one’s for her.
It took me several days, and I worked on it sporadically over about two weeks. Wish I’d kept better track, but time has no meaning in the Year of Coronavirus anyway. The total budget was somewhere around $400. The chickens are pleased (as chickens get, at least), and my sportsbra tan is past the point of no return. A job well done, I say!
And for those who are tired of the constant chicken updates… I think this is my last chicken-related project for a while. You’re welcome.